How to Make a Bookmark Without Glue and Tape
March 18, 2024
In an age where screens dominate, there’s still something special about flipping through a real book. But there’s one thing e-books have solved that paper…
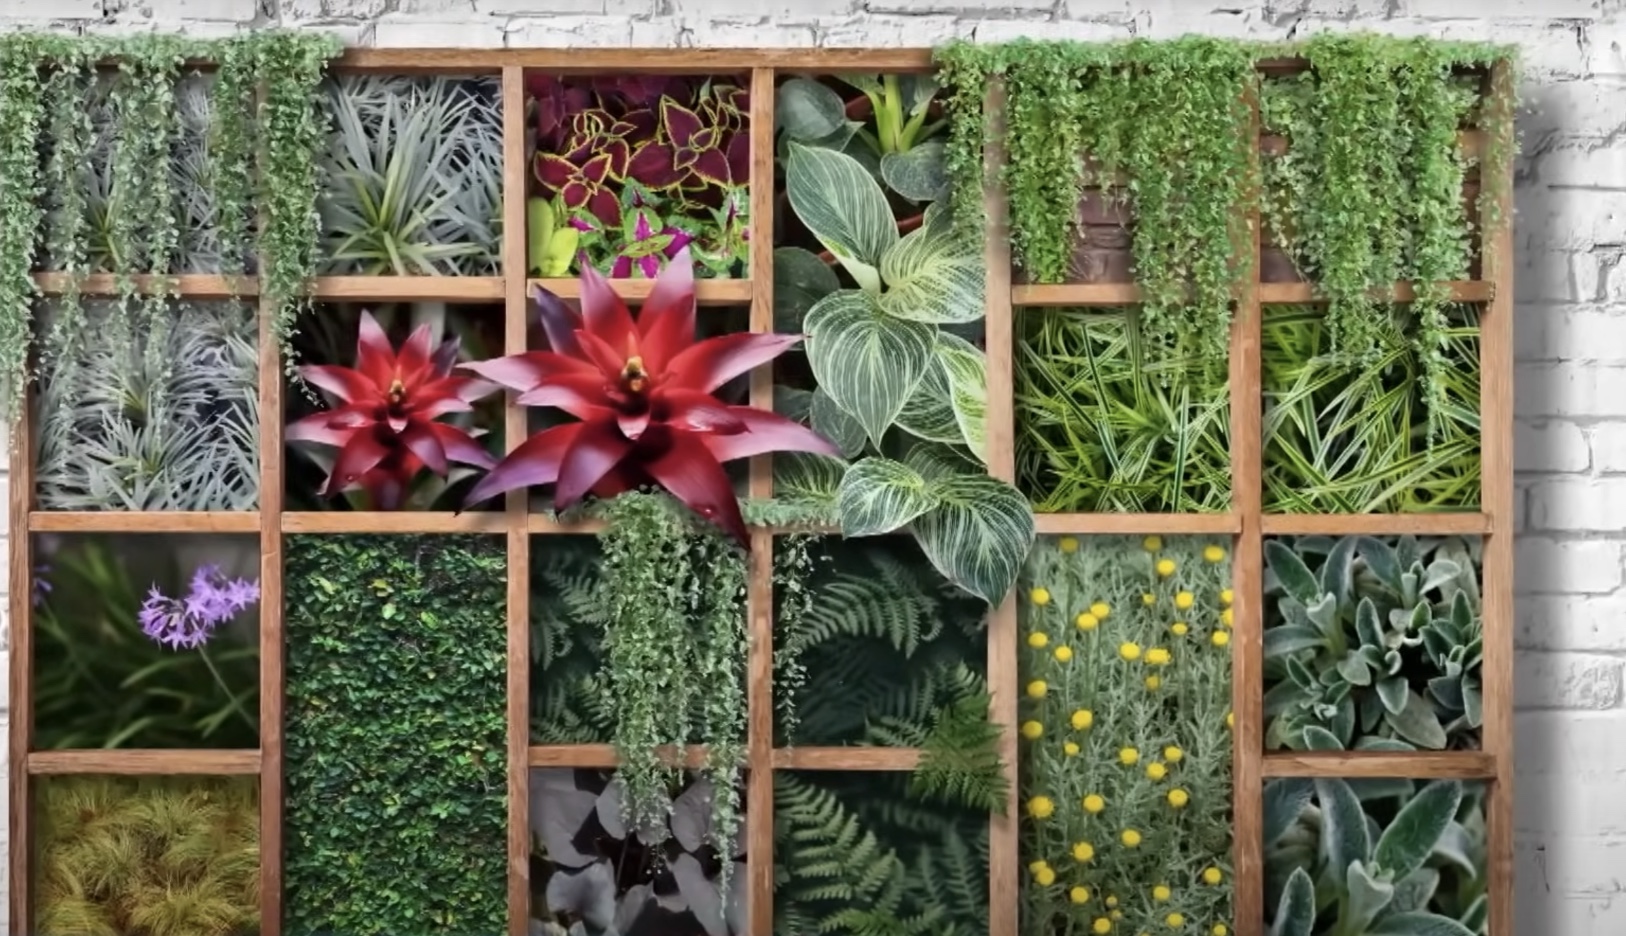
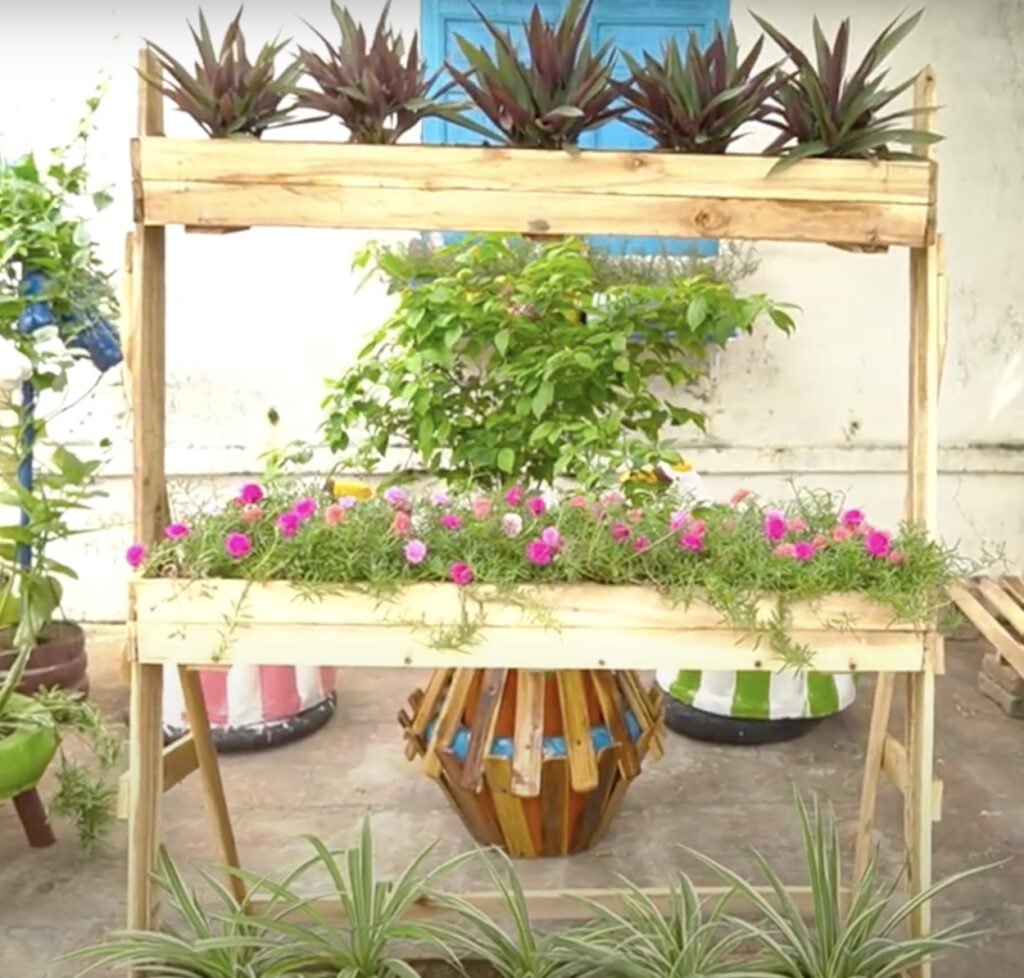
Despite limited area, building a vertical herb garden is a great approach to enjoy fresh herbs at home. This kind of garden is not only aesthetically pleasing but also useful since it gives your preferred herbs simple access right in your kitchen. This post will walk you through creating a vertical herb garden using professional botanical advice to guarantee your herbs flourish.
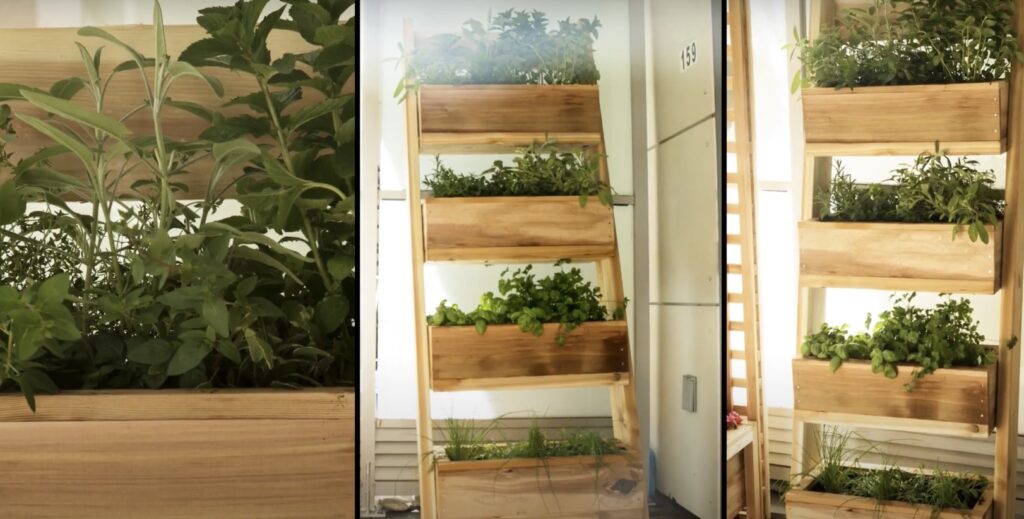
The efficiency and visual appeal of vertical gardening have helped it to become rather popular. A vertical herb garden is a fantastic option for these reasons among others:
Get the following before beginning your vertical herb garden:
Choose containers in line with your preferred style. Among the choices are:
Make sure the holes in your containers drain. This helps to stop water from building up, which could cause root rot.
Herb health depends critically on good potting soil. Select a well-draining combination including organic materials to supply nutrients. The kind of herbs you wish to plant could affect the soil you use since some herbs need somewhat different conditions.
Expert Advice: Think about including your soil mix perlite or vermiculite. Healthy root development depends on good aeration and drainage, hence these materials enhance both of which. Rosemary and thyme, for example, require drier circumstances, hence a combination including more perlite might help them.
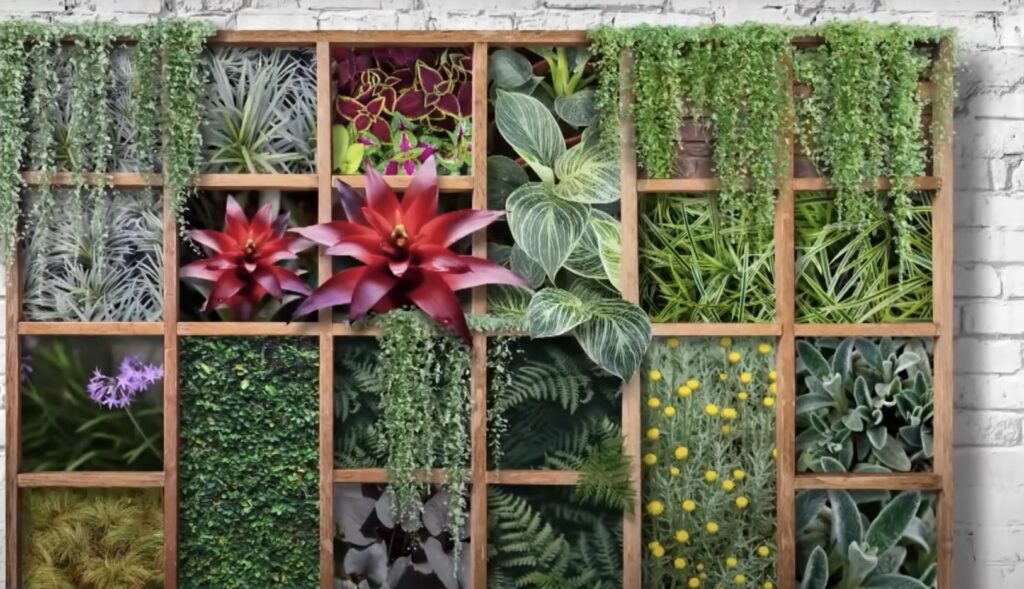
Choose herbs depending to your tastes in cuisine and growing environment. Among the rather common options are:
Expert Advice: Start with known plants from a nursery if you’re new. They give faster returns and are simpler to maintain than seeds..
Pick a location with lots of sunlight—ideally six to eight hours daily. Usually the greatest solution are south-facing walls. Look at employing grow lights if you lack adequate natural light.
Tip: Observe the sunlight patterns in your chosen area before planting. Some herbs, like mint, can tolerate partial shade, while others, like basil, thrive in full sun.
Now that you have your materials, follow these steps to build your vertical herb garden.
Depending on your chosen design, prepare your containers. If you’re using plastic bottles:
For your vertical herb garden, nevertheless, there are several container options you should give thought:
You can paint or cover your containers with fabric or ornamental paper to increase their visual appeal. Select colors for your vertical herb garden that complement your house décor or capture your own flair, therefore transforming not only the utility but also the beauty of your living area.
Fill each container with your potting mix, leaving about an inch of space at the top. This space is important for watering without overflow.
Expert Tip: Moisten the soil slightly before planting. This helps reduce shock to the roots when you add the seeds or plants.
Follow these guidelines when planting:
Select herbs with comparable water and sunlight demands to make sure they flourish together when planting several in one container.
Water the soil lightly after planting. Ensure the water reaches the roots but avoid water logging the soil.
Use a spray bottle for gentle watering. This prevents soil from washing away and reduces disturbance to young plants.
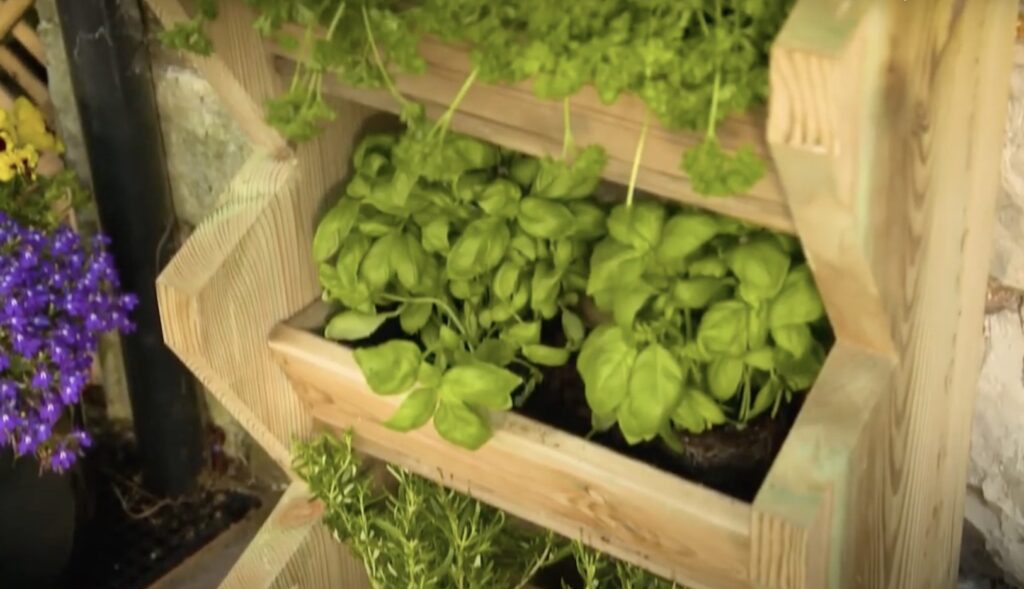
Mount your containers on the wall or fence. Use sturdy hooks or brackets to support the weight of the pots. Arrange them in a way that allows for growth and airflow.
Consider using a tiered shelving unit or a vertical garden system. These can provide additional space and organization.
Companion planting helps discourage bugs. For instance, growing basil next to tomatoes improves tomato flavor while deterring some insects.
Once your herbs start growing, it’s time to enjoy them! Here are some tips for harvesting:
Expert Tip: Harvest in the morning when oils in the herbs are most concentrated, leading to better flavor.
Even with the best care, you may face some challenges. Here are solutions to common problems:
Creating a vertical herb garden is a rewarding project that brings fresh flavors to your kitchen. By following these steps and utilizing expert botanical tips, you can enjoy a thriving garden that adds beauty and flavor to your home. Whether you’re a seasoned gardener or just starting, growing herbs vertically is a fun and accessible way to connect with nature and enhance your culinary creations. Happy gardening!
