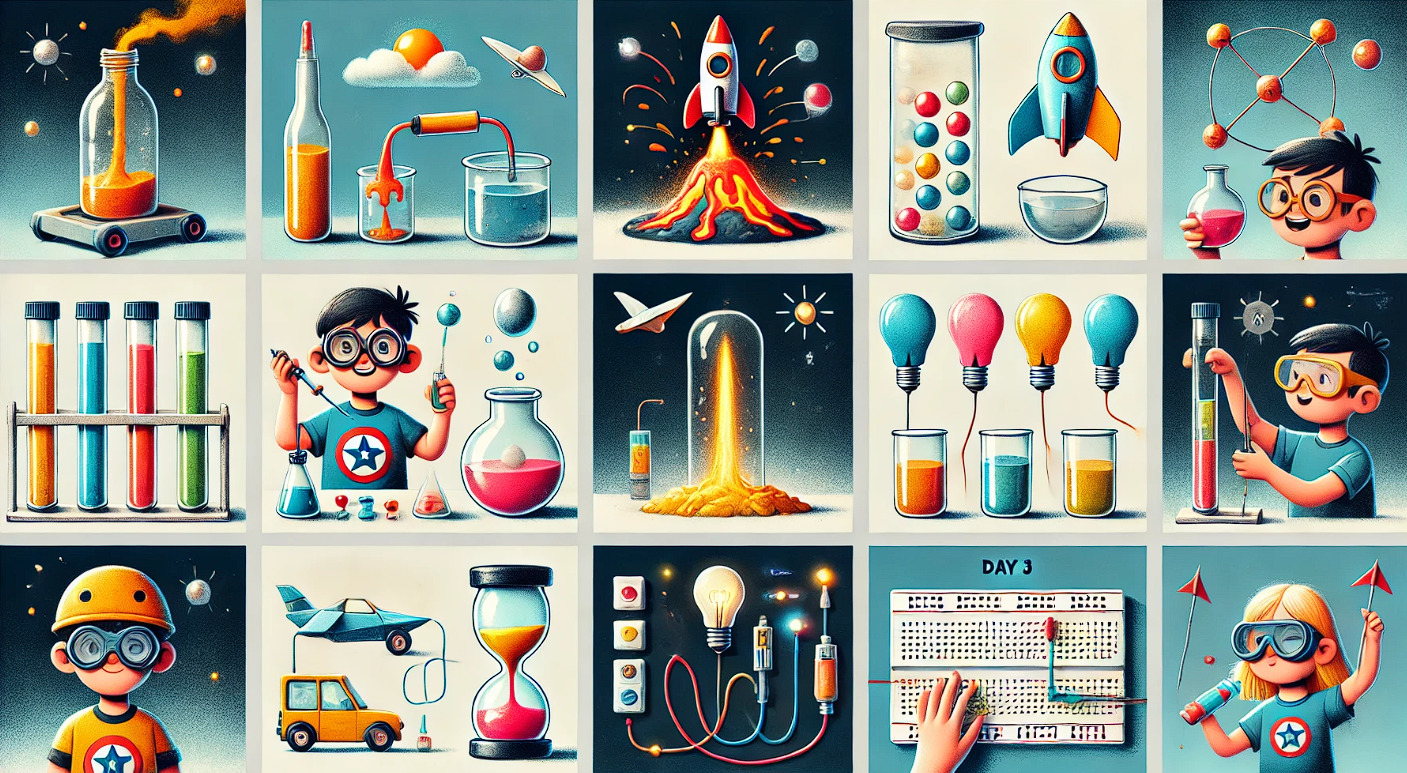
Fun Ways to Teach Science at Home with DIY STEM Projects for Kids
November 15, 2024
We aim to encourage our kids’ creativity and curiosity as parents. Finding engaging ways to teach STEM subjects at home may offer our kids an…


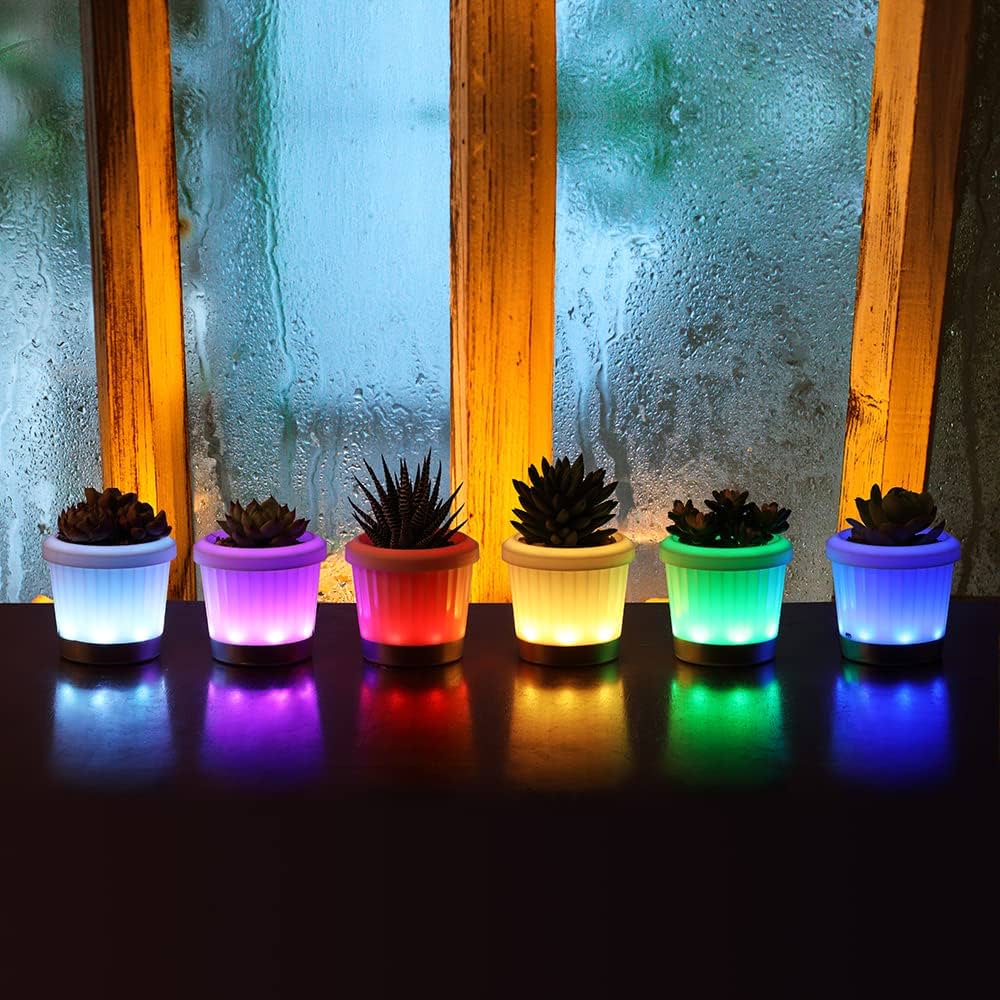
How To DIY LED Planter Tutorial
Materials:
– 8 inch plastic planter pot
– thick white rope
– strips of jersey fabric
– micro LED lights (+ batteries)
– Velcro dots
Tools:
– hot glue gun + glue
– scissors
Instructions:
1. Attach the rope to the bottom edge of the bucket with a glob of hot glue. and start wrapping.
2. Keep wrapping the bucket and adding hot glue along the way.
3. Wrap a little more than halfway up the planter, then snip the rope end and secure with hot glue.
4. Cut the jersey into thin strips, then pull it tightly — it will curl up just like rope!
5. Repeat step 2, but this time with the jersey. Wrap it until you reach the top of the planter.
6. Put batteries into your LED lights battery pack. Then, wrap the lights around the center of your planter where the rope and jersey fabric meet. Secure the lights in place with hot glue.
7. Plant your favorite plant and add a cute sign to make it festive!
Source: Brit